Thursday, December 19, 2013

DIY Chalkboard gift!


I've been looking for ideas for teacher gifts online for a few weeks now. I really like to gift things from the heart and I enjoy making things when I have the time. We recently redid our boy's room using Disney's Great Slate tintable chalkboard paint in the color "Nightvision." I recalled having a little left that I was saving for touch ups (which we haven't needed so far). After searching the internet for tutorials on how to make a chalkboard out of a frame, I went searching through my basement storage and came across a pile of brand new empty frames in various sizes. I decided on the 10 x 13 bronze frame I had. I also remebered that I had a can of white spray paint from Hobby Lobby for "quick projects." Realizing I didn't need to leave the house to buy supplies was enough inspiration to get me started.

I used a small foam paint brush and painted one coat directly over the cleaned, and dried glass using brush strokes ( probably should have dabbed to give a paint roller- like effect, found that out on last coat.) I attempted to speed up the drying process by using my hairdryer on the low,cool setting. If  you can be patient, try, because my impatience lead my chalkboard to have some cracks/streaks that I could have avoided. On a brighter note, it does have a vintage feel to it now! I coated with a second coat, left it to dry overnight, then a third and final coat the next day ( I used the dabbing method for the final coat). 

I repaired the frame by reinforcing the backing with super glue and a hot glue gun to make sure it wasn't going to fall apart. I then spray painted the frame, left that to dry 30 minutes, and then coated it with a second coat. While letting the frame dry for another 45 minutes, I primed the chalkboard. To do this you; a- gently rub a white piece of chalkboard chalk (avoid sidewalk chalk) sideways covering the whole chalkboard in multiple directions, b- rub the chalk in to every nook and crevice with dry paper towel (a rag or felt eraser will work too), c- wipe the board down with a wet paper towel, or rag and let air dry.


I don't have the best penmanship, but was able to search and find a simple saying that is holiday related but universal. I wanted to use a phrase that my kindergartner could read. He is so eager to read any and every sign and is enjoying learning how to read thanks to his wonderful teacher Mrs. Slate! A very helpful note...use Q-tips! I wet the tip of a Q-tip to refine my edges and to create the lines inside of the letters.


I added the frame and viola! Not so bad! Not perfect, but neither am I! One final warning, don't push too hard when writing your phrase or you may nick the paint (unless your has been dry for days). I'm quite happy with the final product, after sitting it on a picture frame display ledge I realized it looks very Pottery Barn-esque ( see picture at top of page)! I really hope his teacher likes it! Tomorrow is the winter party and I'm excited to have my little guy give it to her! Stay warm and be safe......

Sunday, December 15, 2013

Post Baby Formula For A Happy, Healthy Mama

The first time around I, like most new moms, was winging it when it came to recovering and the road to getting back to "me". I want to stress that mental health is equally as important as physical health after baby and the balance is very tricky at times. You strive to maintain some sliver of a social life, and some "you" time (which usually consists of the ten minute power shower), and maintain housework, and acknowledge the husband ( who?) as Sweet Brown has famously said, "Ain't nobody got time for that!"

By the second time around I had really learned a lot. I'm not sure if its because I had two boys in a row, or if it was because I had gone through the process of having a fragile newborn and knew I was more than capable of taking care of one, but it seemed to be second nature? I now have a plan formulated for baby #3 due in January and have worked long and hard at making sure I have everything ready to accomplish my goals.

Here is my formula.......

#1- Pick out a going home outfit for yourself that is a statement of reclaiming your body! I know you just gave birth and you probably want to hang out in some yoga pants or sweats and hoodies or tees until you start feeling better. That was my plan the first time around and even though I left in a cute coral sweatsuit I got home feeling frumpy, and unmotivated. Second time around, I brought my favorite maxi dress, some spanx ( i'll get to that), a new scarf, and my favorite jewel sandals. I left feeling like a million bucks! I was ready to do this motherhood thing again, from the top....and I felt happy, healthy, and motivated! Here is what I've come up with for this time around!


#2- Wear Spanx (or any high waisted shapewear you choose) for 40 days and nights. I did this both times and I was able to reclaim my former shape and eventually tone up my midsection. This is actually practiced in many different cultures in many forms! Some use a gauze wrap, ace bandages,or just plain material wrapped multiple times tightly. I used to think it was ridiculous back before I had kids. Seriously though,come on people, we've already been uncomfortable for the last few months, whats another 5/6 weeks?If it means things will be more likely to work back into place why not? I actually wore mine past the 40 day mark for comfort during the day. I am not one who is comfortable with my bulges or bumps even if no one else can see them.....( I prefer the high waist boy short type, see above image)


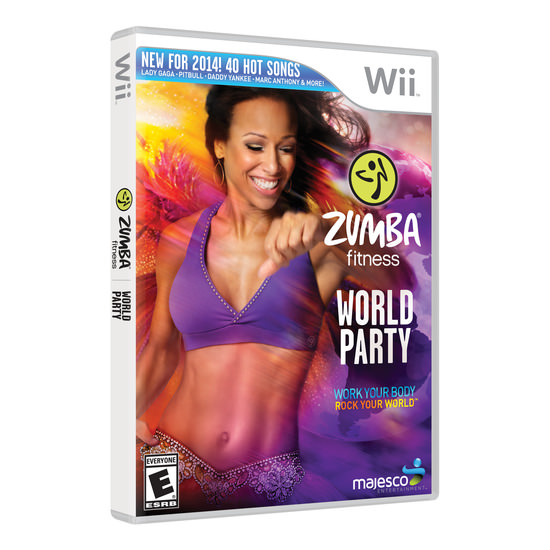
#3- Make a starting workout plan- As eager as you are, I highly recommend waiting the full 6 weeks before you do any more than walking. I'm not going to list all of the risks but I've heard of women who were so eager to get back in shape after their babies they ended up hemorrhaging and almost dislocating their reproductive organs from a mixture of gravity and the strain they were putting on their bodies. That being said have a starting goal in mind. Mine is to start doing Zumba at home on my Wii. I have done both Zumba 2 and Zumba Core at home on the Wii and have seen awesome results, and its really fun! So I got the new Zumba World Party and am excited that I know where to start on my road to post baby weight loss.Also, remember to be realistic. I'd love for my goal to be- Make it to the gym 3 days a week. I also know I'll have 3 kids, it'll be the end of winter, my gym doesn't take babies under 12 weeks old, etc., etc..


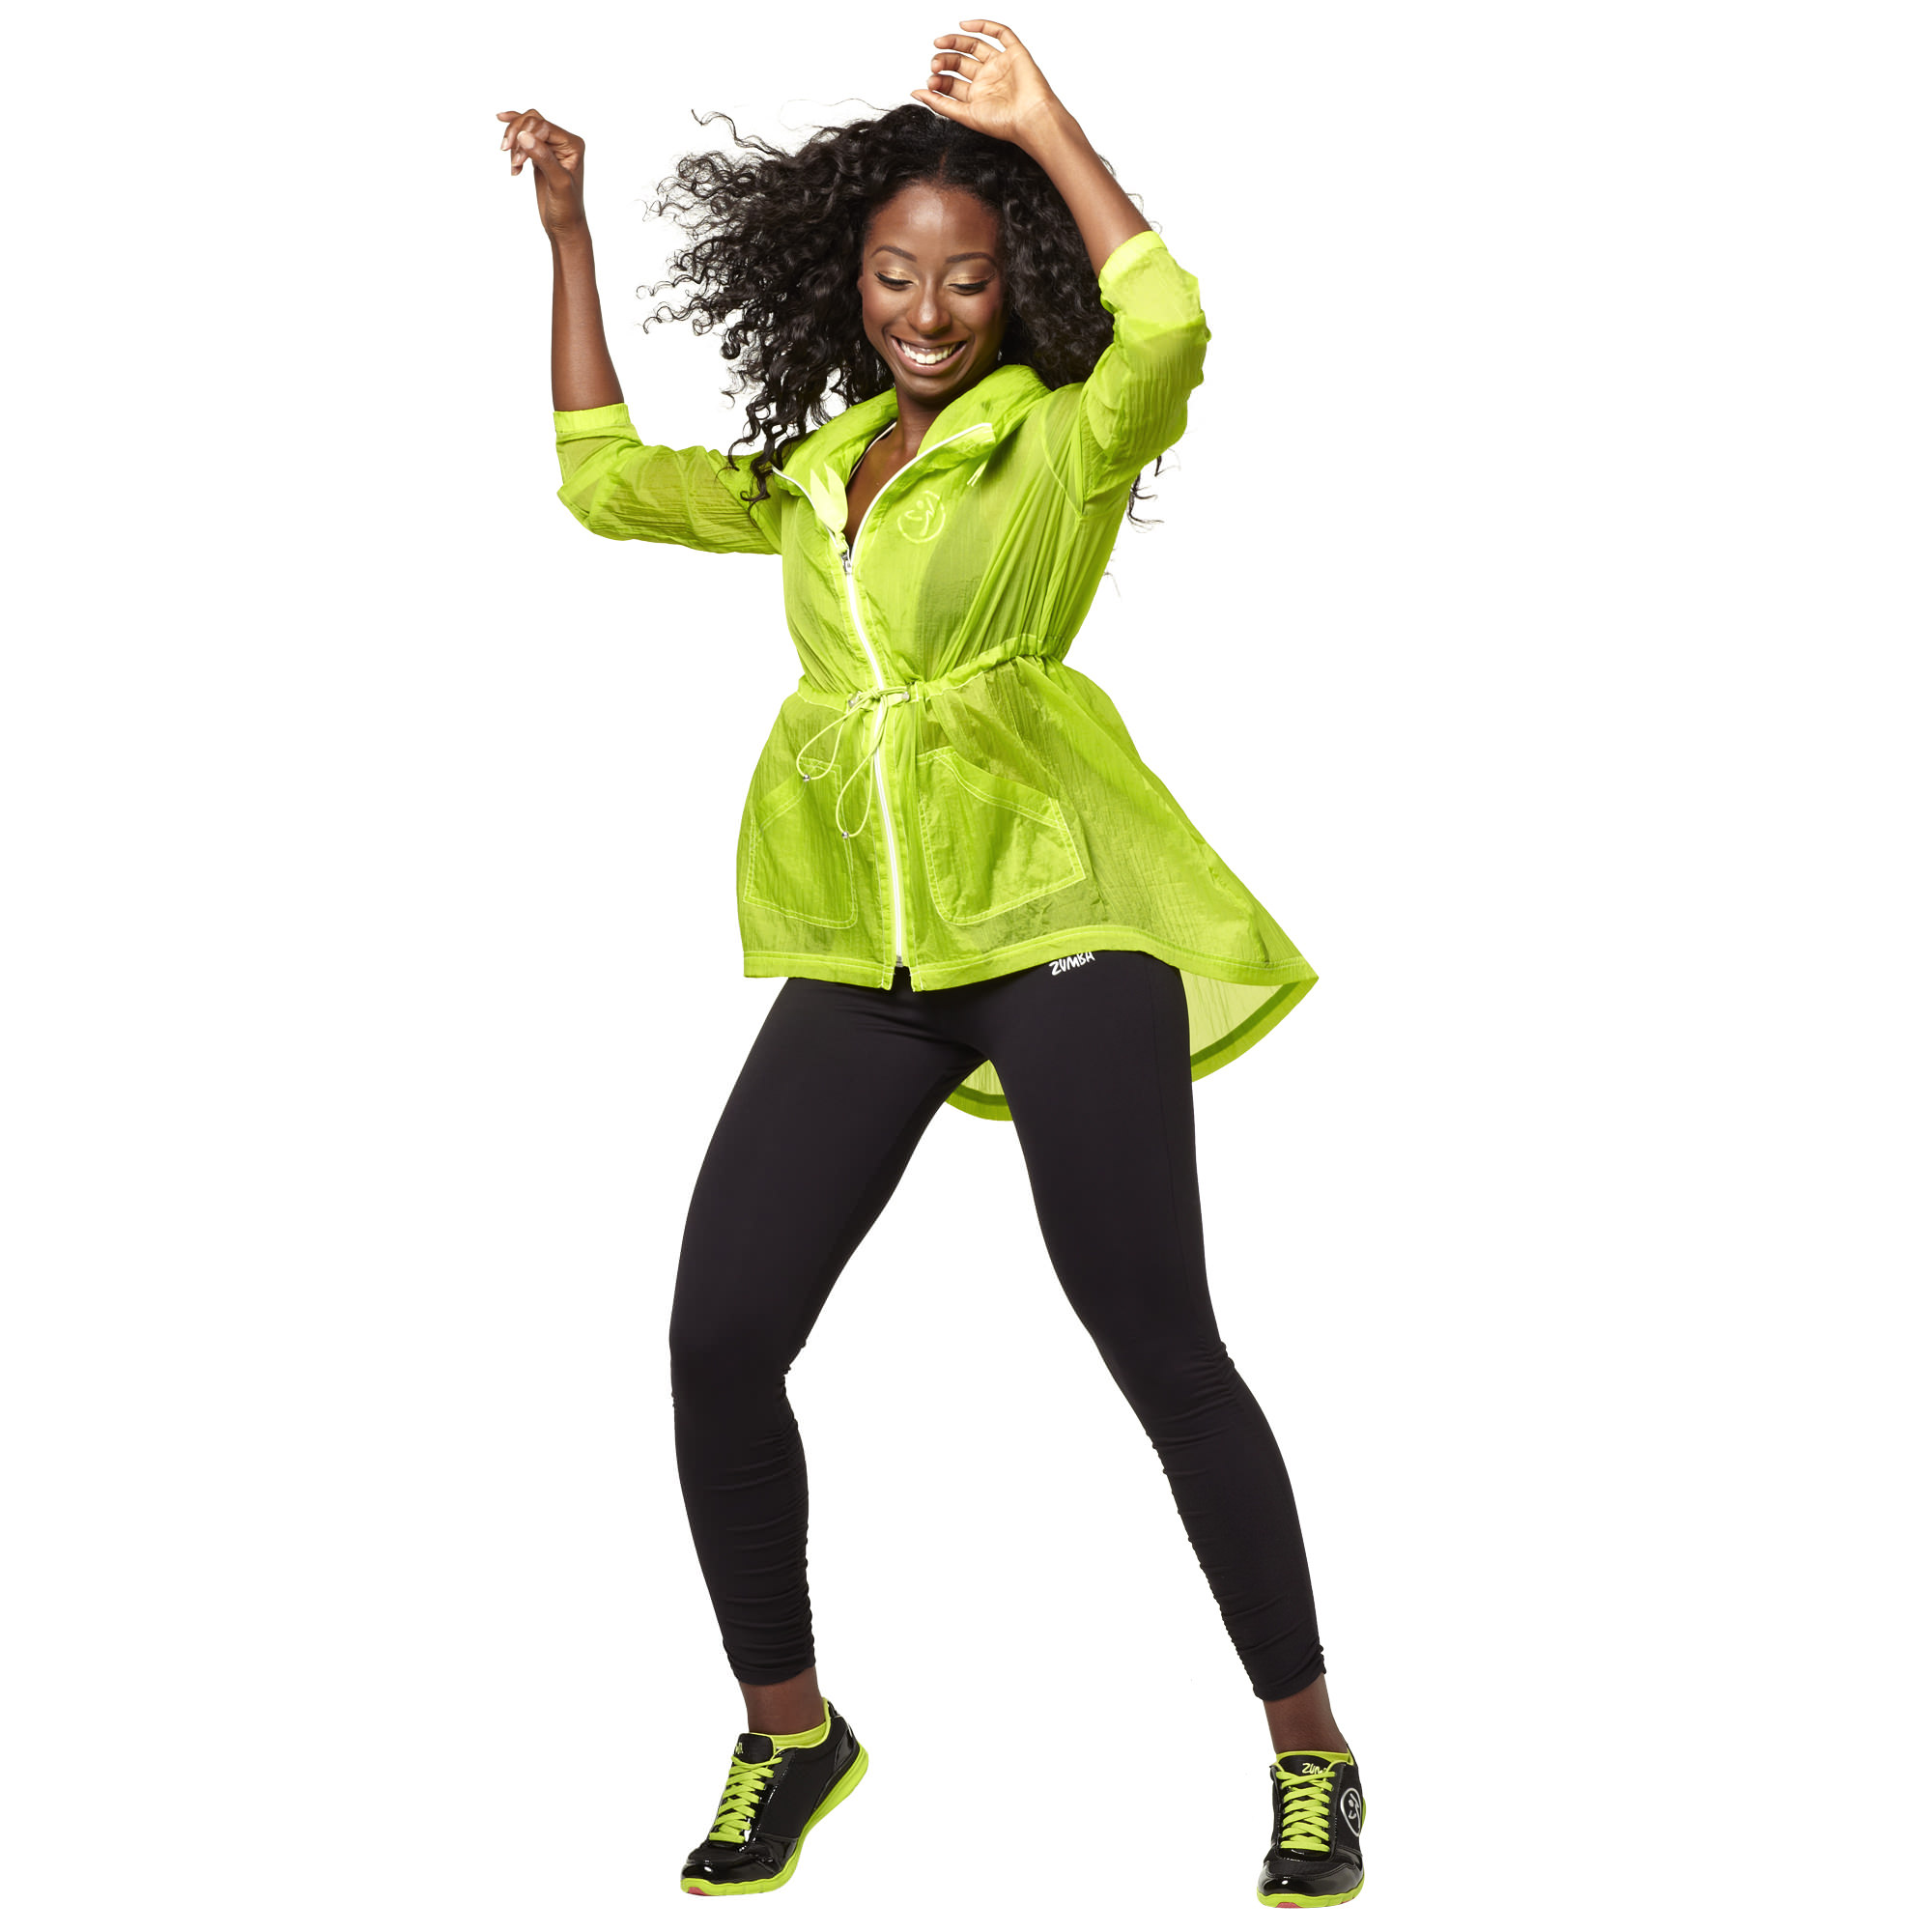
#4- Buy a new workout outfit- Just like the going home outfit, this outfit will serve a fell-good purpose. It is the start of you reclaiming your health/fitness! Even when I hit a plateau on the road to shaping up I usually go for a new workout outfit, or at least a fun bright top or new sports bra. These things don't have to cost much. Try Marshalls, Walmart or Target and often times you can get a complete workout outfit for around $20. I happened to catch the first ever semi-annual sale on the Zumba website ( going on until Dec.25th, 2013). I love the bright colors and couldn't pass up some of the awesome deals they are having! 
***PS- if you have an instructor code from your Zumba instructor, you can get an extra 10% off your order!

#5- Use an event as motivation- Usually my motivation is a friends/family members wedding. You could also use a birthday, anniversary, or heck just pick a date! Again, BE REALISTIC! I'm having my baby in January, and as much as I'd love to say Valentines day would be my goal, it obviously, for many reasons, cannot be.Try to make the date 6-9 months post delivery. As they all say, " It took 9 months to gain it, give yourself 9 months to lose it." If it works out that you accomplish your goal earlier that's absolutely wonderful! If it takes a little longer, don't get down and give up, just extend it to baby's 1st birthday and I know you will make it! My goal is my birthday, which is exactly 6 months after baby. 

#6- Say No, more often- As much as we'd all love to make it to dinner parties, social gatherings, and even play dates, sometimes its just best to say no. Politely decline and let everyone know its not personal and that you are looking forward to catching them at the next occasion. I attempted to attend everything after baby #1 and was so flustered sometimes that I felt I did more damage to my relationships with others by being there than I would have if I had declined the invite. Up until a certain point not all of us are able to leave the little one (even with trusted loved ones) and slip into our old selves for the evening. I found often times that I'd feel guilty being away from them. Even at events where they could attend, I often felt as thought I were appearing to be anti-social because it was easier for me to park myself and the kids at a table in the corner so I could keep all of my things out of the way of others and so that my children were far from the exits and I didn't have to keep chasing after them! Even though they are usually fairly well behaved, kids are kids, and at certain ages they are just more curios!

#7- Give yourself a break- There may be times where you feel out of touch with yourself. There may be times where you know you've said or done something that just really isn't like you. Try not to judge yourself so harshly immediately post baby. With baby #1 I really felt as though it took 2 years to fully "find myself" again. A lot of the first year (other than moments caught on video/in pictures) was a blur. The people who love you and understand you the most will still be there when the dust settles. I wish for everyone reading this that some of my discoveries will help you on your journey back to mental/physical health and reclaiming your own identity after baby. Motherhood is the most wonderful thing in the world, but it is a tricky balance. Everyday we learn something new about ourselves in so many ways!


Post baby going home outfit for Mama

Friday, December 6, 2013

Rejoining the Real World / Baby's Name Frames for nursery tutorial


I'm back, finally! So to catch you all up after the last post I discovered we are expecting our third (our first girl due in January), our internet bit the dust along with our ancient computer, my oldest started kindergarten, my sweet niece turned one, we've redone our boys' room and started the nursery, had a baby shower and so much more and life has been busy busy busy! I am going to try and backtrack to do some tutorials on the things I was able to pin from my iphone! 


I will be doing a detailed post as soon as the nursery is done, but to start I'll show you the baby's name frames I made, which don't require a lot of time or money! We are going for a Tiffany blue, black and white, Parisian theme for her nursery ( I've never been a pink lover myself). At this point I'm having so much fun I told my husband I'm contemplating moving into her room! 


So I had originally purchased black wooden letters in a nice font from Hobby Lobby and they were decently priced being as they were 50% off but still cost about $3.50 a letter. I intended on using those for either over the baby's crib or on the shelf (see picture below). They looked O-K but something was missing?  During the same day shopping spree I had also bought a frame from the Dollar Tree for a picture I wanted to send back with my family after their Thanksgiving visit. After looking at the frame with the picture in it I realized the frame was nicer than I had realized and suddenly the idea popped into my mind to make the baby's name with those and scrapbook paper instead.

 So back to Hobby Lobby I went to return my wooden letters for $17 and some change and off to the Dollar Tree I went to purchase $5 worth of the black frames! I already had some black and white prints of scrapbook paper I purchased for card making from Walmart in their $1 scrapbook section at the end of the scrapbook aisle in a pack of random pages! I also used some black sparkly card stock I already had from the Walmart's scrapbook aisle that came in a sparkly $5 pack. So technically I cheated a bit already having had some of the supplies. I used my Slice craft cutter to cut out 4 inch letters but could have easily printed the letters in the font I liked from the computer on regular computer paper, cut them out, and used them to cut the letters out on regular white computer paper. I used one scrapbook page for all 5 letters. I just removed the picture that came with the frame cut out the little family and used the picture size to help cut out the printed paper pieces. After having the letters cut I realized they didn't pop like I wanted them to. So I put a letter on some of the sparkly black card stock and cut a square around it and used that square to make 4 others. I used crafters adhesive runner (99 cents, Walmart) but tape and regular glue would work just fine. I aligned the pages in front of me then placed them in the frames one by one. I didn't use any ruler or specific measurements for alignment of the letters/papers but you can if you are particular about that kind of thing. It looked so much nicer than the plain black letters and for now I have them on her shelf but I am contemplating hanging them above her crib, when I get to that point....Oh so much to do and so little time!


Sunday, May 19, 2013

Spring garden topiary made of paper mache and paper flowers


A friend of mine is planning a spring garden themed party for her little girl and had asked me to help with decorations. Of course I was so excited! I started gathering supplies for the topiary table centerpieces and realized how crazy expensive the craft foam balls were. I brainstormed and searched the web to see if there was anything else I could use that was more budget friendly, being as I needed to make 6-8. I came across a pin on a homemade pinata made from paper mache layered over a balloon. I thought, what a brilliant idea, I can do that for the topiary forms! 

It was a bit time consuming but I used a basic paper mache recipe, inflated balloons and strips of magazine to start. It was a 3 day process including drying time. The first evening I did layer one, then finished layer two the next evening after layer one was completely dried. Finally the evening of day 3 they were ready to craft with! I then used my handy Slice machine to cut the original and shadow of a 2 inch flower. I used chevron patterned card stock for the original size and solid card stock for the shadow. I then paired them together and pinned them in the center with a little yellow sewing pin ( oddly enough I found them packaged in a flower shaped box at Wal-Mart, see below). 


I deflated the balloons inside and then hot glued a wooden skewer into the hole, through a solid flower,  where the balloon end was. It is sturdy but I wouldn't call it durable. These are, after all, party decorations! I proceeded to hot glue the bottom of each pinned flower and immediately pin onto the paper mache form alternating the colors. After the topiary was finished I used craft foam in the base of the cute little garden boxes I found and put green basket filler in to cover the foam and give it a garden look ( see top for completed topiary).


The party is actually on hold for now, but I am so excited to be able to combine these super cute topiary center pieces with the artificial grass mats and other various spring/garden decorations we have gotten together. Crafting is so therapeutic! Thanks for stopping by!


Saturday, May 18, 2013

Tree trunk Texas sheet cake!


I'm back! I unintentionally took a brief hiatus from blogging due to a super busy schedule. There are multiple cakes I've made and events I have assisted with in the past month, too many to throw in to one post so I'll pick my all-time favorite! The chocolate Texas Sheet Cake (some know it as Mississippi mud cake). One of my girlfriends at work got married May 4th and the week before we had a nice little gathering at a local restaurant for her bridal shower ( nothing wild or inappropriate). I wanted to make a cake that looked like a tree trunk as her wedding theme was rustic. I thought it'd be cute to have she and her fiance's name look like they carved it into the stump. I really wanted this cake to be rich and chocolaty so I went for my grandmas Texas Sheet Cake Recipe (scroll for recipe). For those of you who don't know Texas sheet cake is usually made in a jellyroll pan, which is similar to a cookie sheet in size but a little deeper in depth. You prepare the batter and bake the cake, then pour warm icing over top and refrigerate. It's not a decorative cake by any means... that's where the challenge began. 

I figured out that one recipe makes 3, 8 inch round cakes. I was afraid the cakes would stick to the pan because this is usually a cake you eat out of the pan you baked it in. I put some foil in the bottom center of each pan and that seemed to help when I flipped them to cool. I made the icing and refrigerated it for 10 minutes so it would be easier to spread without running all over the cake box. Make sure you decorate the cake on a rectangular board or a much larger diameter circle because some icing will pool at the bottom until you can fix it ( I'll get to that part). I poured one circle of icing onto the top very center of the bottom layer and started small and waited until the circle spread until it almost reached the edges, then stacked layer two repeated this step ( there will be some that oozes out the sides, that's okay). For the top I poured enough that covered the top and oozed over the sides ( save just a little icing for the stump top). I took a rubber spatula and scooped, then ran the oozing icing up the sides until it had the smallest amount of icing puddling at the bottom ( This took about 4-8 rotations of constantly bringing up the icing with the spatula). I promptly refrigerated the cake. 

Due to the texture of the icing I could still see the divisions between layers. I remembered I had some baking chocolate on hand and began shaving little bits of chocolate into a bowl. I put on a pair of gloves ( but you don't have to if you like getting messy more power to ya!). I took handfuls of the shaved chocolate and smacked them onto the sides of the cake to give it the tree bark texture, then promptly returned the cake to the refrigerator. I used icing lightener to get a lighter shade of brown for the top of the trunk and then spread that and made circles with the spatula on top to spread it around. For the names and heart written on the cake I used cold caramel dessert topping, put it in a icing bag and snipped a tiny hole. Last, but not least, I used some green butter cream icing and a grass tip to pipe grass around the base of the cake. For setup I used dried flowers to try and cover the base of the cake board. Keep it refrigerated as long as you can until you need it and even if you have to transport it 45 miles away it'll hold up, trust me! Here's the recipe........

Cake Ingredients

2 cups sugar
4 tablespoons cocoa
1 teaspoon baking soda
1/2 cup oil 
1 cup of water
1/2 cup of buttermilk
1 teaspoon vanilla
2 eggs

Cake Directions

1- Preheat oven to 400, DO NOT GREASE PAN
2- Mix dry stuff in a large bowl, set aside
3- Bring to boil; water, margarine, and oil
5- Pour over dry mixture, beat well
5- Add eggs, vanilla, and buttermilk, beat well
6- Pour into 10.5 x 15.5 ungreased pan and bake for 20 minutes only

Icing ingredients and directions

1- In a bowl, Melt 1 stick of margarine
2- Combine margarine with 1/3 cup buttermilk and 1 teaspoon vanilla
3- In a separate larger bowl combine 1 pound of powdered sugar and 4 tablespoons cocoa
4- Pour liquid mixture over dry mixture and beat until smooth
5- Spread it over warm cake, then immediately refrigerate

**Side notes**
All ovens differ. I use a 10 inch round to make this in the traditional way but bake it for 35-40 minutes. The 20 minute rule is for a large jellyroll pan, adjust time as you see fit with any other size pans. The 3, 8 inch rounds for the tree trunk cake only took 20 minutes! Thank you as always for checking out my blog!

Saturday, March 23, 2013

The Buttercream Rainbow Ruffle Cake!


A friend of mine's sweet little girl turned 6 today! I was lucky enough to get to do the cake..yay! They were having the party at Hands On Ceramics in Columbia,MO, so decided to choose rainbow colors and an art theme for the party. My friend had orignally hoped to do the cake herself and really wanted Sixlets to be included. I had initally thought to do a whole Sixlets covered cake, but after searching for inspiration, decided to try ruffles and Sixlets! So I baked four layers of cake ( red, blue, green, yellow), crumb coated them with a layer of white buttercream and chilled it overnight.

My Supplies...


I watched this great tutorial Easy Ruffle Cake Decorating Tutorial and was ready to try it out! I started decorating by adding a second white coat to the top for the cake to hold the Sixlets on. I quickly placed a rainbow pattern of Sixlets on the top of the cake until I ran out of space. I then used a cup to try piping ruffles around, being as this was my first time ever using a petal tip ( I'm still a newbie in cake decorating).


 It is a lot easier than I thought and looks to be very shabby chic and elegant when its complete! The birthday girl and her mom loved the cake and even sent me an updated pic with the candles on top!


Hot Wheels Party Cupcakes!


This week was a  pretty fun week for baking projects! I was asked to do Hot Wheels themed cupcakes and a special side cake for the birthday boy who turned two yesterday! Happy birthday Liam! Here's what I came up with....


Before.....

After....


And for Liam's own special creation.....
Before.....

After...

The Candles on the pull-apart cake are from Party City, and the cars on the cupcakes are regular hotwheels from a gift pack of 9. I made the flags by printing out free racing printables and cutting and hot-glueing them onto tooth picks!

Saturday, March 2, 2013

The Seusstastical play date!


We've been stuck in the house for close to two weeks now due to the snowy weather. I decided we needed something to take our minds off of the terrible weather. I called all my mommy friends and we got the kids together for a special Seusstastical play date! I had been web surfing out of sheer boredom when I came across and announcement for Dr. Seuss's birthday March 2nd. I absolutely love Dr. Seuss and so do my little guys so I figured why not make this a theme for our play date??? I went out and bought a new printer (I've been needing one for a while). Printed out some great free printables from Catchmyparty.com and busted out my crafting supplies and creative juices! I will say listening to the mob from the Lorax sing "Everybody needs a thneed," was probably the best motivation!

I started by hanging a white plastic tablecloth behind my table thinking I might do a streamer background or balloons or a bunch of tissue pom poms. After finishing a few tissue pom poms I realized it'd take forever to do what I envisioned originally. Then I realized that the one's I had finished resembled Truffula Trees. I decided I'd stick them on the backdrop then free hand some trunks with a sharpie! I added the quote next, then printed out my little Lorax and viola!

I realized how cool it is to free hand on white plastic tablecloth. I felt like an artist ( I can barely draw anything recognizable on a normal day) so I took another and decided to make a place for a photo op. I free handed the window from The Cat in the Hat. Then printed out his hat and things 1 & 2. I added a couple tissue pom poms some streamer and it turned out pretty cool! I then laid out a red blanket and put all of our Dr. Seuss plush animals ( all from Kohls Cares for Kids,) and a lot of the Dr. Seuss books from our collection and made a reading nook! I remembered we had a couple cute fold out chairs I could fold out to resemble the chairs that the children sat in by the window in Cat in the Hat.


Last but not least an ode to my favorite Dr. Seuss character of all, Horton! I was in the process of figuring out where to put my children's easel when I realized I could use it to display the awesome specks I found at Hobby Lobby! I then added my favorite quote from the book on the dry erase side, and placed Horton on top!

Our food consisted of Barbaloots (chocolate teddy grahams) and Marshmallows, Thing One and Thing Two cupcakes, One fish, two fish, red fish, gold fish (Gold fish), and Cat in the Hat fruit skewers (banana and strawberries). I had cotton candy to put on wooden skewers then stick into a foam block wrapped in lime green tissue paper for truffula trees, but sadly ran out of time.


 We all had a great time. It was especially nice for us moms, most of whom have been cooped up at home or in other cases working long hours and hitting the books hard!

Classic Winnie the Pooh cake and cupcakes


This will be a quick one. A coworker recently announced that she had been chosen for an adoption! She and her husband eventually brought home their newborn son and the baby shower for staff was set. I was asked to do the cupcakes, and a cake for them to take home. I was told she loved the Winnie the Pooh theme so I went with that! I ended up making bumble bees from Wilton fondant and stuck to my basic vanilla chocolate with vanilla buttercream combo.


Friday, February 15, 2013

The Pink Camo Duck Diaper Cake


This diaper cake was done for my best customer! One of my favorite coworkers mentioned she'd made some baby blankets for two babies that friends of hers have coming soon, one boy and one girl. She made one green camo and one pink camo. Now I usually make edible cakes for her but my wheels were turning in a different direction. So I just threw out there that I'd love to make her matching diaper cakes! She loved the idea and from it came this diaper cake. I completely forgot to take a picture of the green one as I was on a pretty tight schedule. I agreed to make them Thursday evening at work to be completed by Friday evening. So I ran around Friday trying to find things to match the idea in my mind. I remembered that I had seen pink and green camo tissue paper. I combined that with basket filler, ribbon and diapers of course. Now ideally I had wanted to buy a plush duck for the girls diaper cake and deer for the boys diaper cake, as both sets of parents are big on hunting. I couldn't find any that weren't totally mismatching the theme so I went to my favorite rubber duck bin at my super Walmart and much to my surprise they had multiple pink and green rubber ducks with none other than camo print on their bellies, wings, and back! I bought a serving tray for one cake and the chips and dip tray for the girls diaper cake. I needed a base anyway and thought it'd be a lot cooler to have something to use when all the diapers are gone! When it was all finished i put them in  cellophane bags, tied bows around them and viola!

Sunday, January 6, 2013

Mickey Mouse cake pops!


So the holiday season was pretty busy for us! We went with the family to Orlando to hang out and visit "The Mouse"! I made a few trips to Goofy's Candy Company in Downtown Disney and fell in love with all of the character themed goodies that were in the bakery cases! Here's where I got my inspiration....


So lately I've been lacking artistic creative motivation. Well thanks to Disney, my babysitter, and the Bakerella cake pop book, I found the motivation to rev up my creative juices! The cake pops at Disney were $3.95 a piece, and were composed of a chocolate or vanilla cake center with marshmallows as the ears. I didn't have marshmallows on hand so I used all cake instead. I used red velvet cake mix (a holiday gift from my awesome sitter,) cream cheese frosting (about 1/3 a container,) and my new Bakerella cake pop book! I'm a little late on the uptake with the whole cake pop thing...but oh well!

I started off with fifteen cake pops and 30 ears. I rolled the cake pops like a ball and the ears too. With the ears I pressed my index finger to flatten the balls and worked around the edged until they were more like discs instead of balls. Then I dipped the sticks in candy coating and inserted them into the larger balls of cake and dipped the ears in a bit of candy coating and positioned them onto the top of the cake pops. I was thinking the whole time how weird they looked and then I realized it was because they resembled raw meat! Haha!


So I then found out in one dip why Disney decided to use marshmallows for the ears! My first try was an epic fail with one ear landing in the bottom of the candy coating bowl. So I decided to take a spoon and drizzle the coating over and that worked a lot better. I used a toothpick to scrape the thicker spots of candy coating and then promptly proceeded to the sugar sprinkles. To coat them with the sugar sprinkles I used two bowls, one that was empty, and the other one filled with sprinkles. Next I held the cake pop over the empty bowl while shaking the sprinkles onto the cake pop then I shook the excess off and traded the bowl underneath ( now full of sprinkles) for the empty bowl I had and repeated until the entire cake pop was covered. Unfortunately since this was my first attempt I only ended up with 8 presentable cake pops out of the 15 :(. I will definitely use marshmallows next time for the ears but it is doable with cake it's just a bit more meticulous!

Thank you Disney for being an ever-magical, and ever-inspirational force in the lives of many such as myself. Seeing that castle at 26 with 2 kids felt no different than seeing it when my own mom was 26 and I was one of her two kids seeing it for the first time.